5 IKEA Hacks to Make Your Furniture Look Expensive (Before & After Ideas)
What if a basic IKEA piece could become the one everyone asks you about? A dresser, bookcase, or chair can look completely different with a few thoughtful changes—and you can start with something you already own or pick out a new piece for the project.
I’ve put together five IKEA hack ideas with before-and-after images to help you picture what’s possible. For each one, I’ll share the details that give it a more custom, expensive look, plus a short shopping list that includes the IKEA furniture and the items used to transform it.
The first idea was inspired by a media console my husband transformed for our home. Seeing what he could do with that piece made me want to explore what else is possible with IKEA furniture. We’ll also look at ideas for a chair, shoe cabinet, BILLY bookcase, and TARVA dresser. I hope you’ll find a project here that you’re excited to try.
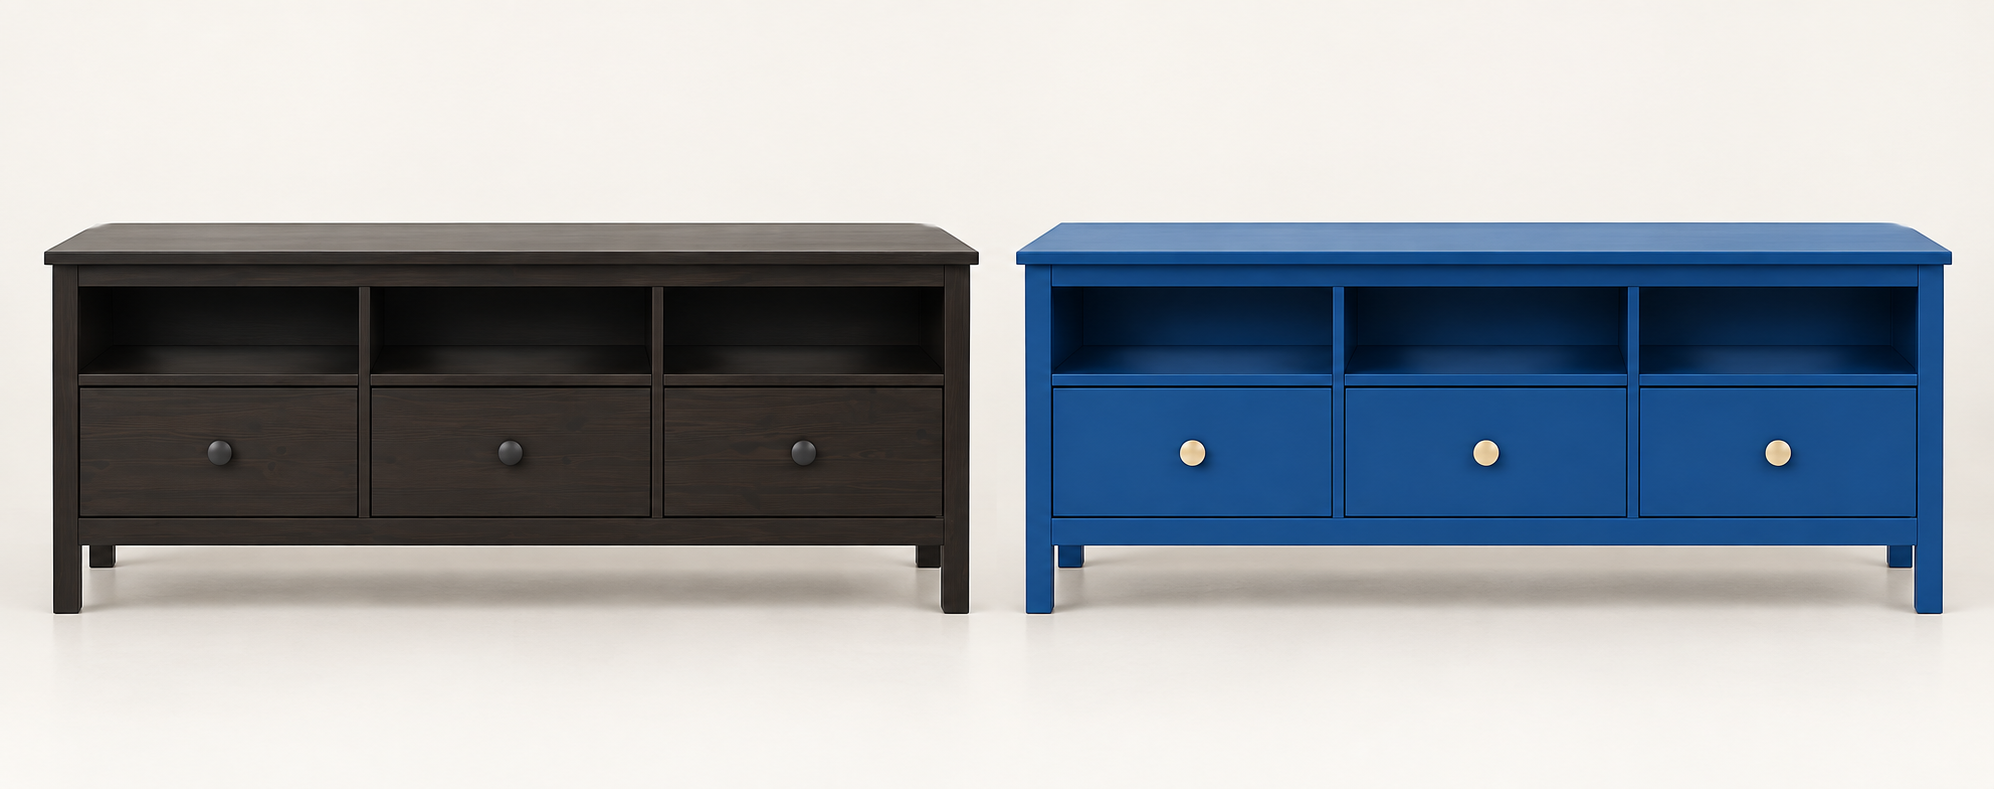
Before and after: our IKEA HEMNES TV unit, reimagined in Benjamin Moore’s Adriatic Sea with gold knobs. AI-generated recreation based on the makeover Jeffry completed for our home.
1. Give the IKEA HEMNES TV Unit a New Look
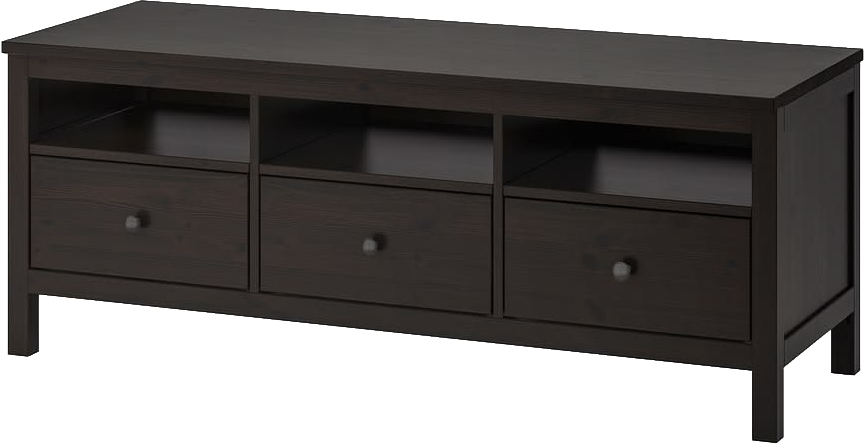
Jeffry and I have had our IKEA HEMNES TV unit for about 15 years. We bought it in black-brown because it fit our home’s color scheme at the time. When we moved from Vancouver, BC, to San Francisco in September 2019, the movers scratched it and paid us to replace it.
But between settling into San Francisco, our careers, and the pandemic, we never got around to buying a new one. We moved back to Seattle in October 2020, and once we were settled, I brought it up again. Jeffry suggested painting the console instead.
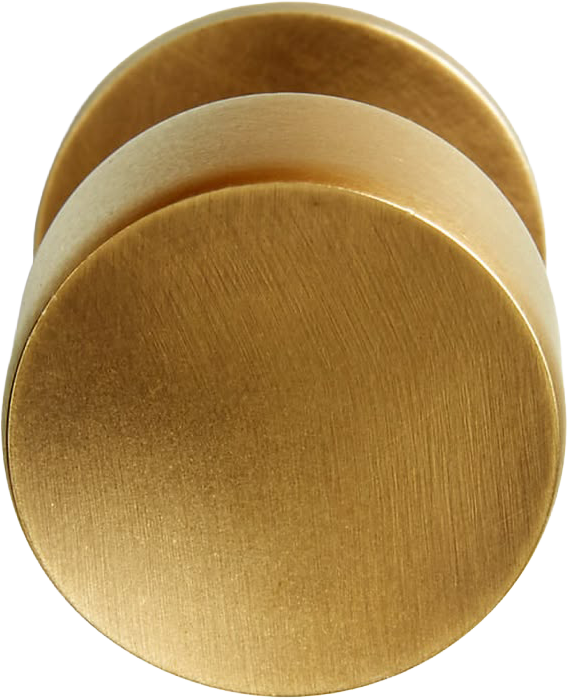
I’ll admit, I thought he was a little crazy. He’d never restored or painted furniture before. Since we already had the money to replace it if the project didn’t work out, I agreed to let him try—with one request: I got to choose new knobs. I picked gold ones to replace the original black knobs.
Jeffry disassembled the console, sanded off the black-brown finish, and painted it Adriatic Sea by Benjamin Moore. The result exceeded my expectations. The color and gold knobs made it feel brand new, and friends and family have complimented it ever since. Nearly six years later, we’re still enjoying it.
If you want to try this on a HEMNES unit of your own, start by removing the hardware and any parts you can safely take off. Clean and prepare the existing finish, then use primer and paint appropriate for the surface. Give the finish time to cure before reassembling the console and fitting the new knobs. I’d also test your chosen color in the room first; a deep blue can look quite different in daylight and lamplight.
Before-and-after image: AI-generated recreation based on the makeover Jeffry completed for our home.
Shop the hack: HEMNES TV unit · Adriatic Sea paint · gold knobs

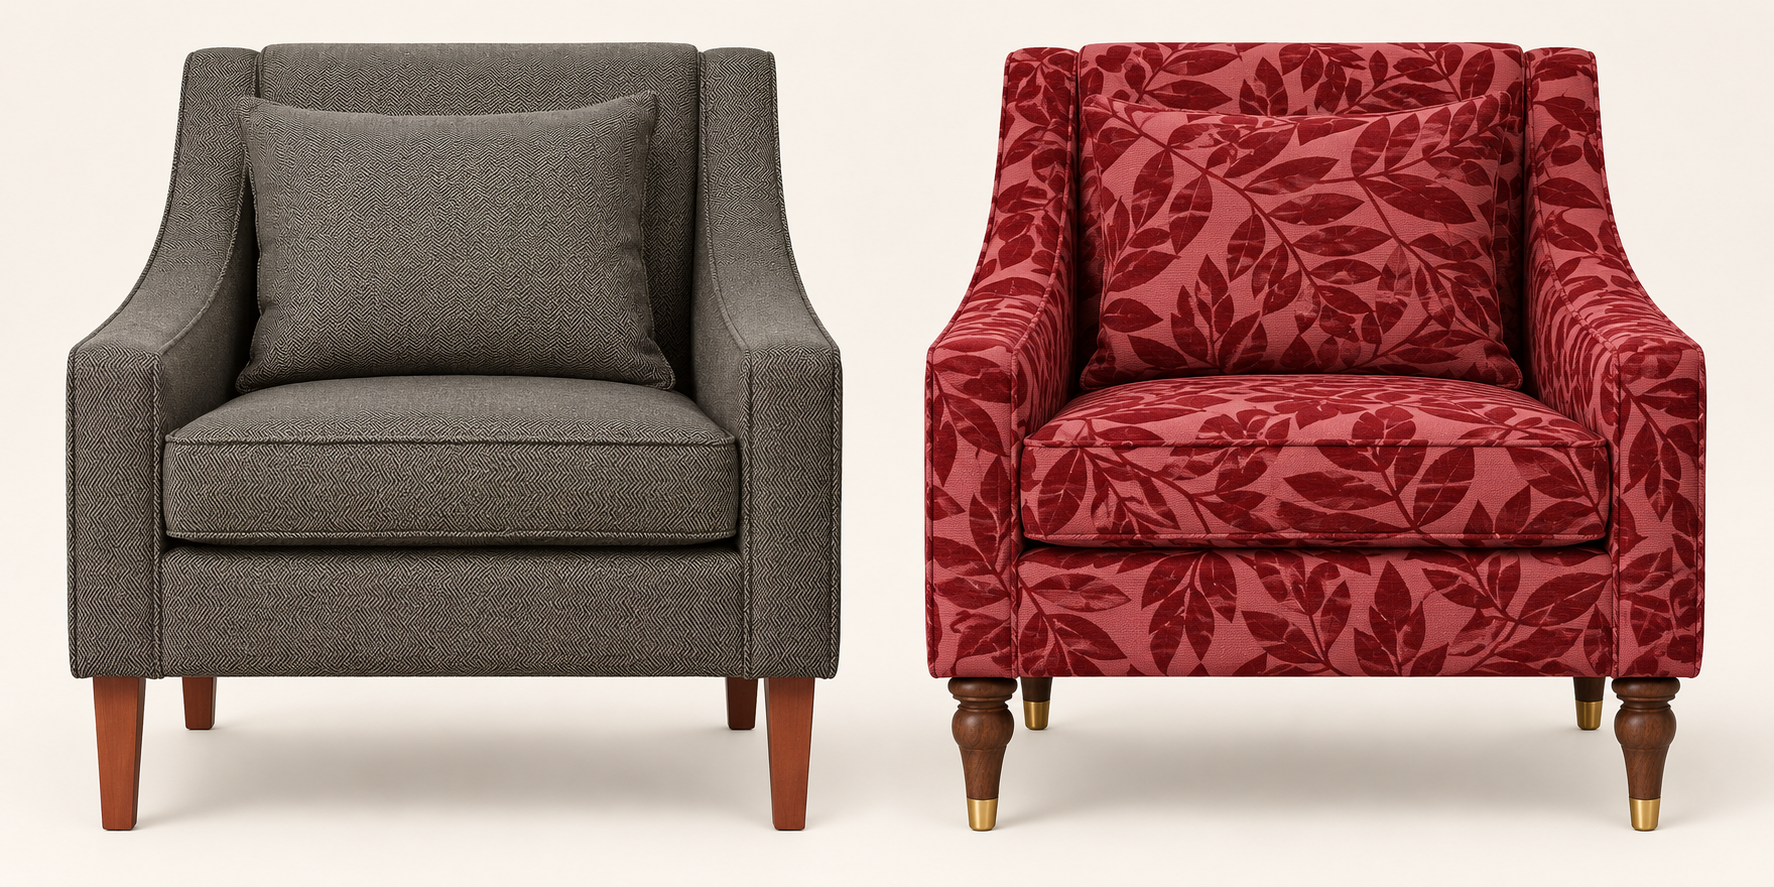
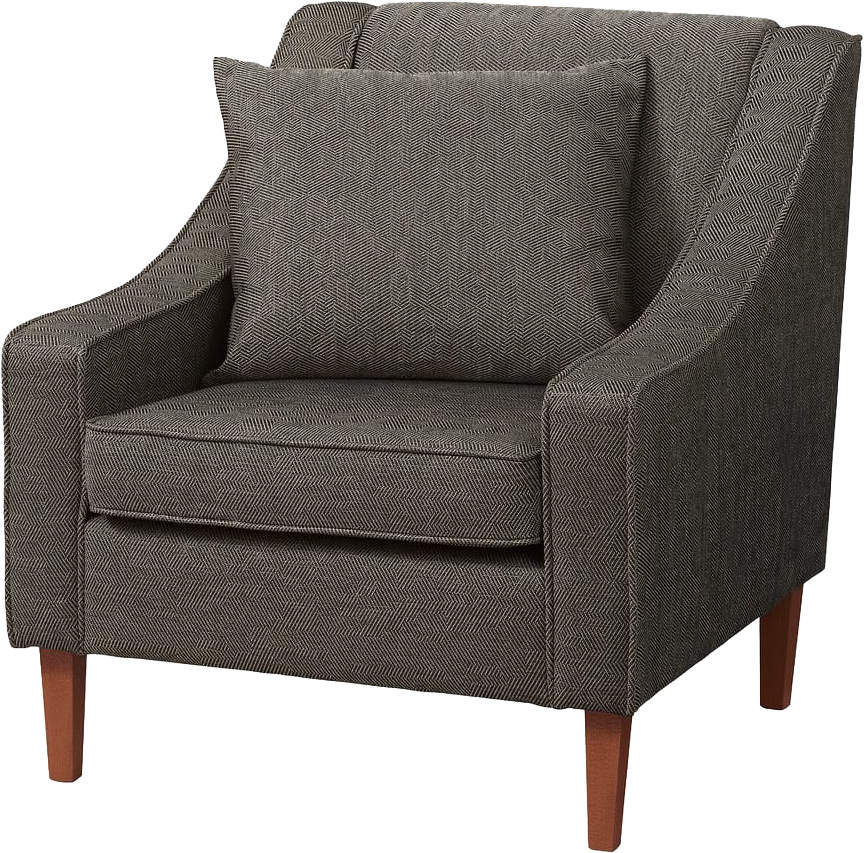
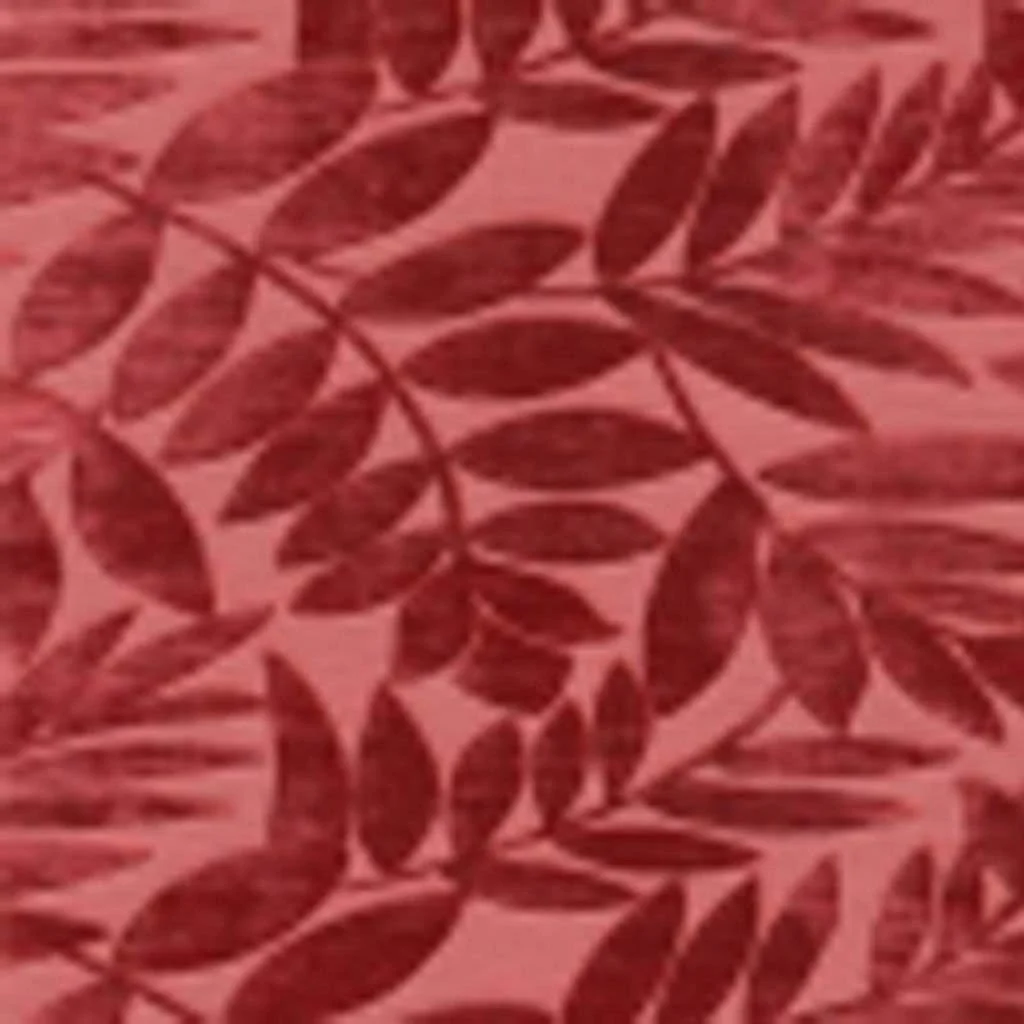
Before and after: an AI-generated mockup of the IKEA FLINSHULT armchair reimagined with richly patterned upholstery and turned wood legs.
2. Make the IKEA FLINSHULT Armchair Your Own
Have you ever found a chair with a shape you love, but wished it came in a completely different fabric? That’s how I approached the IKEA FLINSHULT armchair. Its sloping arms and roomy seat are a great starting point for a chair that feels more personal.
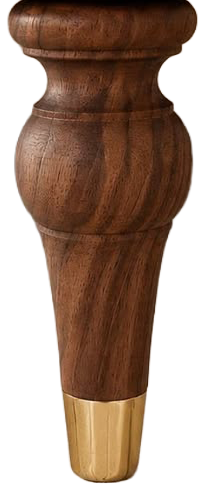
For my version, I chose a fabric with rich color and a bold botanical pattern. It would turn the chair into a statement piece—the kind guests might ask about before discovering it started at IKEA. I also chose turned wood legs to give it a more elegant, distinctive finish.
Reupholstery takes some planning. Before ordering fabric, ask your upholsterer how much the chair requires and whether the pattern needs extra yardage for matching. If you’re comfortable with upholstery, you could take on the work yourself. Otherwise, a local upholstery workshop can help bring the idea to life. For the legs, check the attachment, height, and weight capacity before buying replacements so the finished chair sits level and feels stable.
Before-and-after image: AI-generated mockup of the FLINSHULT armchair with new upholstery and legs.
Shop the hack: FLINSHULT armchair · patterned fabric · turned wood legs
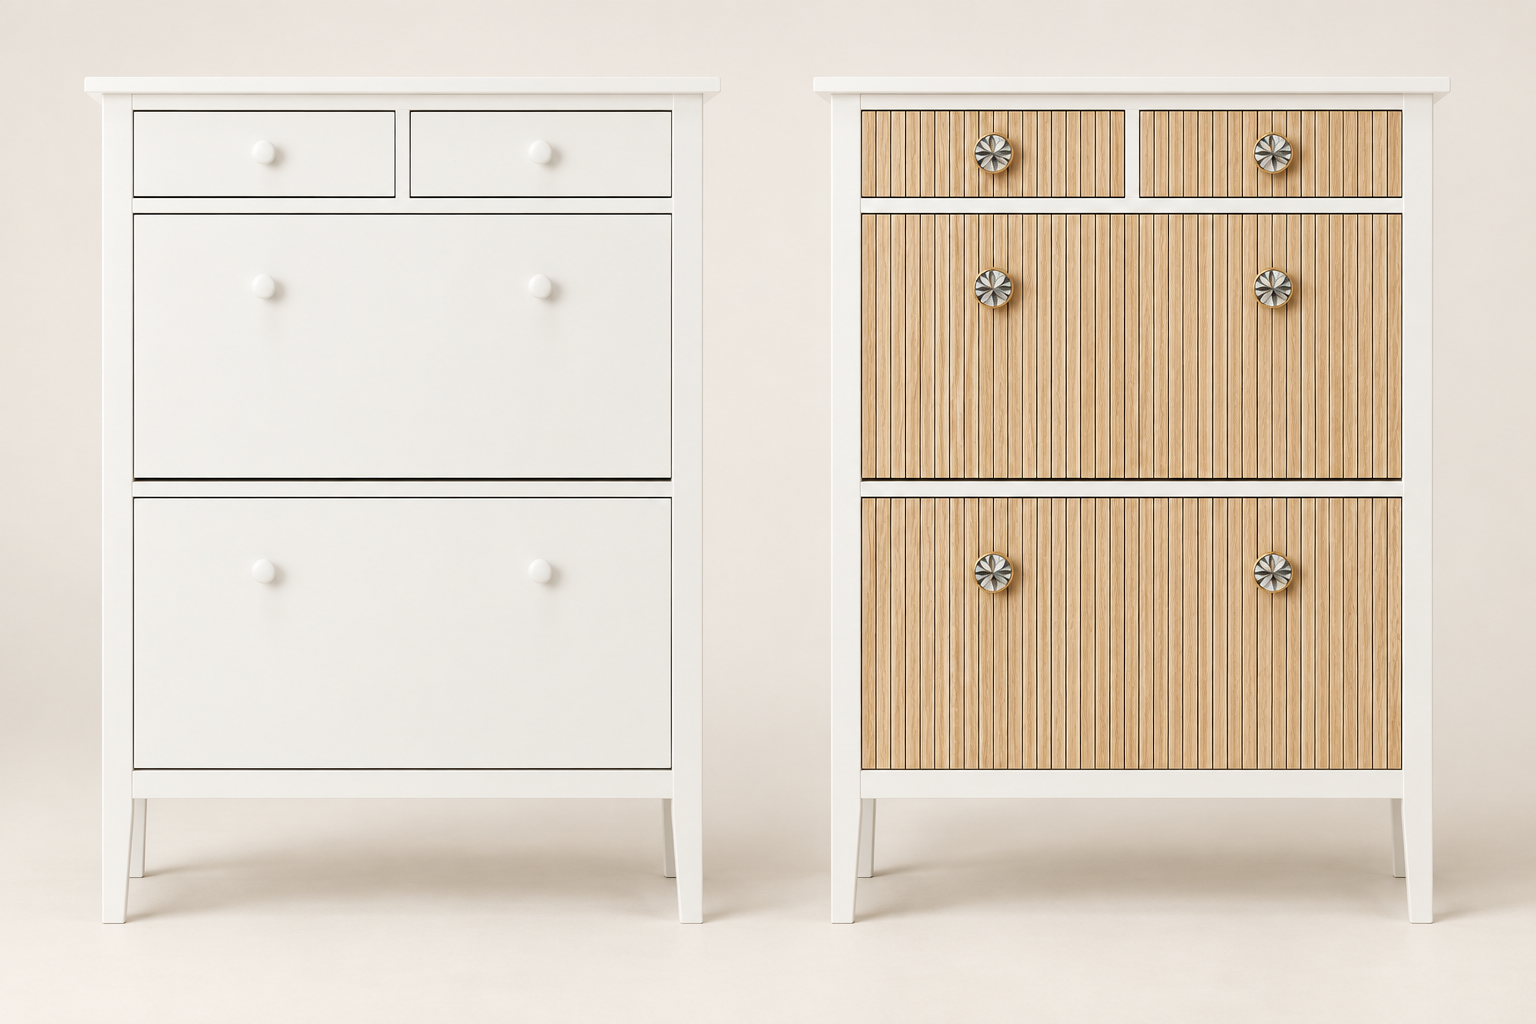
Before and after: an AI-generated mockup of the white IKEA GULLABERG shoe cabinet with natural oak vertical panels and decorative knobs.
3. Add Texture to the IKEA GULLABERG Shoe Cabinet
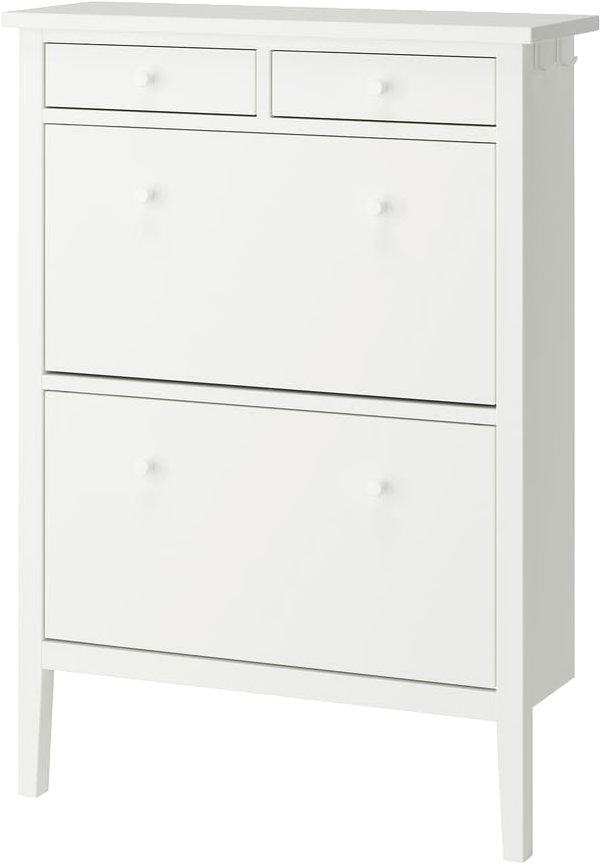
An entryway needs somewhere to put shoes, but practical storage doesn’t have to look plain. For this hack, I’d keep the IKEA GULLABERG cabinet white and add natural oak vertical panels to its fronts. The contrast brings warmth and texture while keeping the overall look clean.
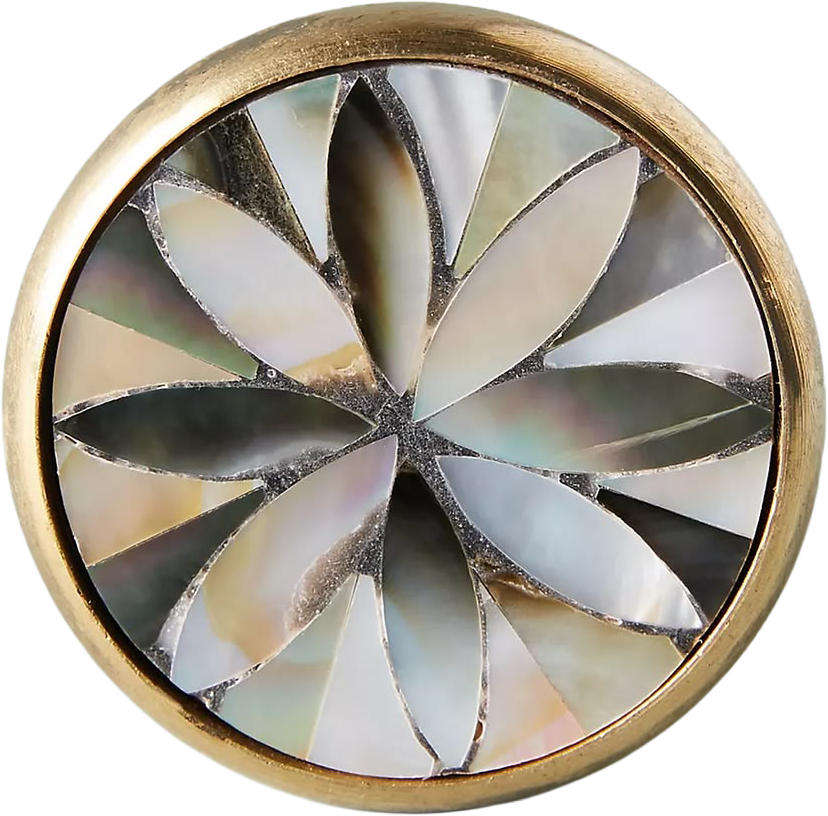
I’d replace the existing knobs with decorative ones, too. Hardware is a small detail, but it can make the cabinet feel more considered and give you another way to show your style.
Before ordering the panels, measure each front rather than assuming they’re all identical. Plan where the panels and new knobs will sit, and check the clearance around every moving part. The compartments and drawers still need to open freely after the new material is attached. Keeping the cabinet body white lets the oak fronts become the feature without making the entryway feel busy.
Before-and-after image: AI-generated mockup of the GULLABERG shoe cabinet with textured oak fronts and new knobs.
Shop the hack: GULLABERG shoe cabinet · oak vertical panels · decorative knobs

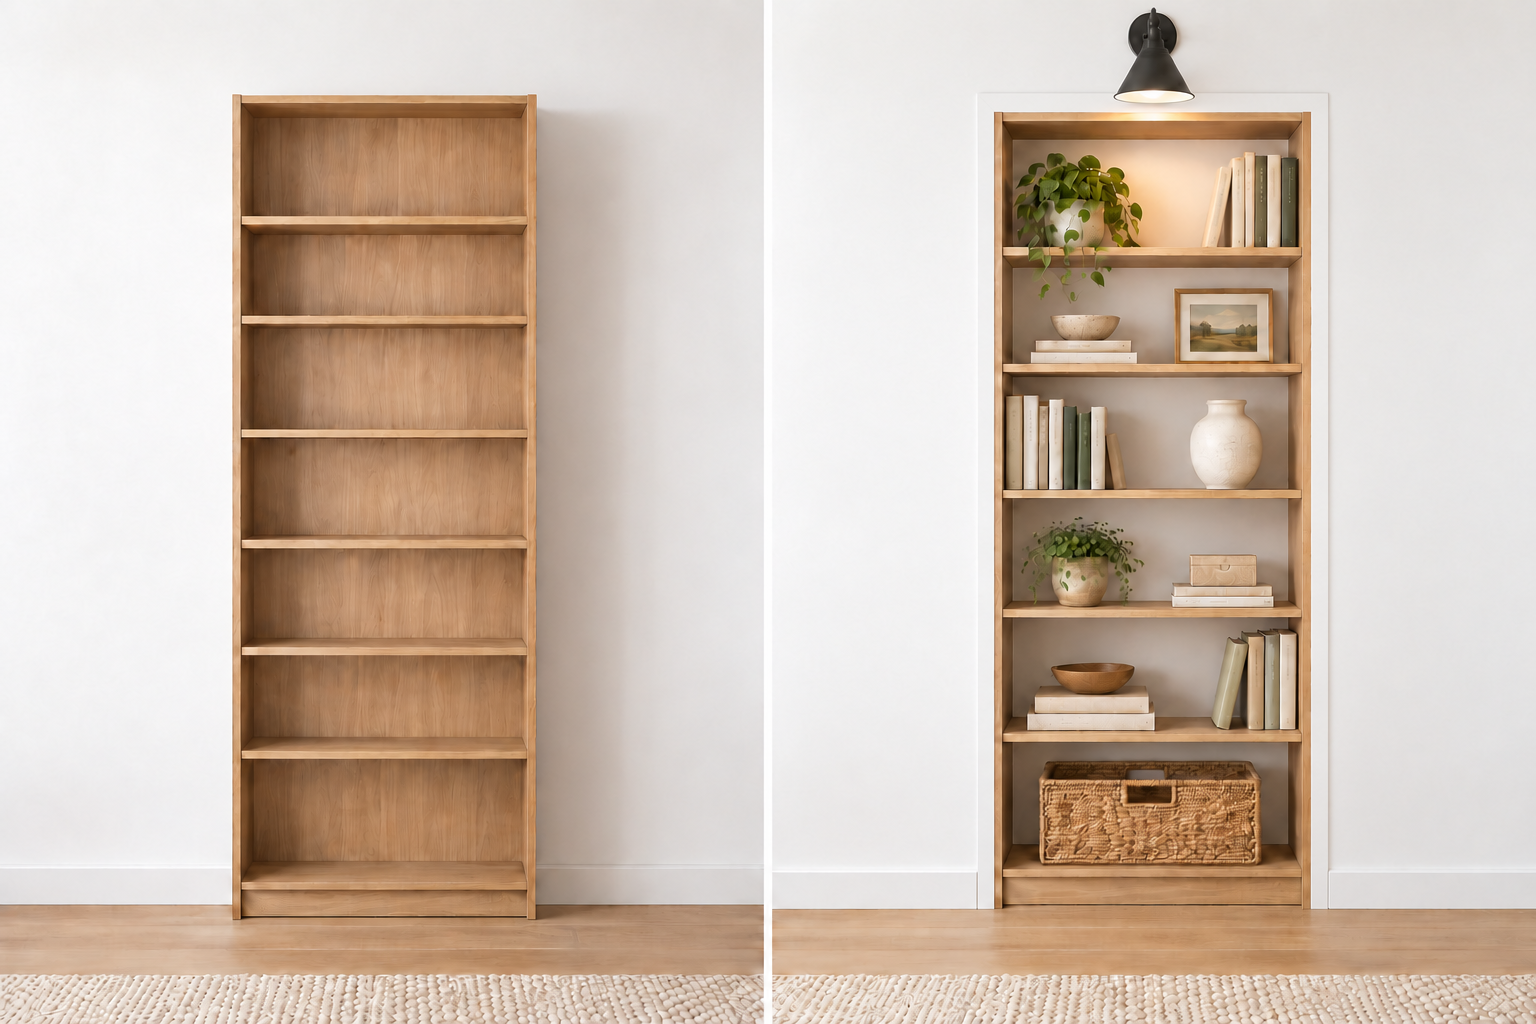
Before and after: an AI-generated mockup of an oak-effect IKEA BILLY bookcase styled to look built in, with white trim, a wall-mounted black sconce, and a woven basket.
4. Give the IKEA BILLY Bookcase a Built-In Look
I’ve seen many people use IKEA BILLY bookcases to create the look of built-in shelves, and I understand why. Custom built-ins can be expensive. If you’re comfortable with construction work, a BILLY bookcase can be a starting point for a more affordable project.
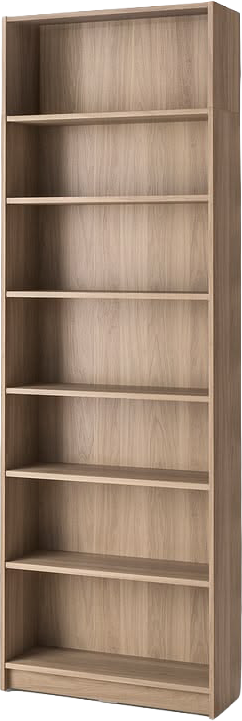
For this idea, I chose the oak-effect BILLY with a height extension. I love the warmth of the oak against a white wall. Instead of seeing the bookcase’s supplied backing behind the shelves, I’d like the white drywall to show through. Trim fitted around the left side, top, and right side would close the gaps and help the unit look integrated with the wall.
That backing change needs to be planned before assembly. Check how the bookcase will be supported, keep the required wall anchoring in the plan, and speak with an experienced installer if you’re unsure how to make the modification safely. Measure your ceiling height and the space needed for installation before buying the unit or cutting trim.
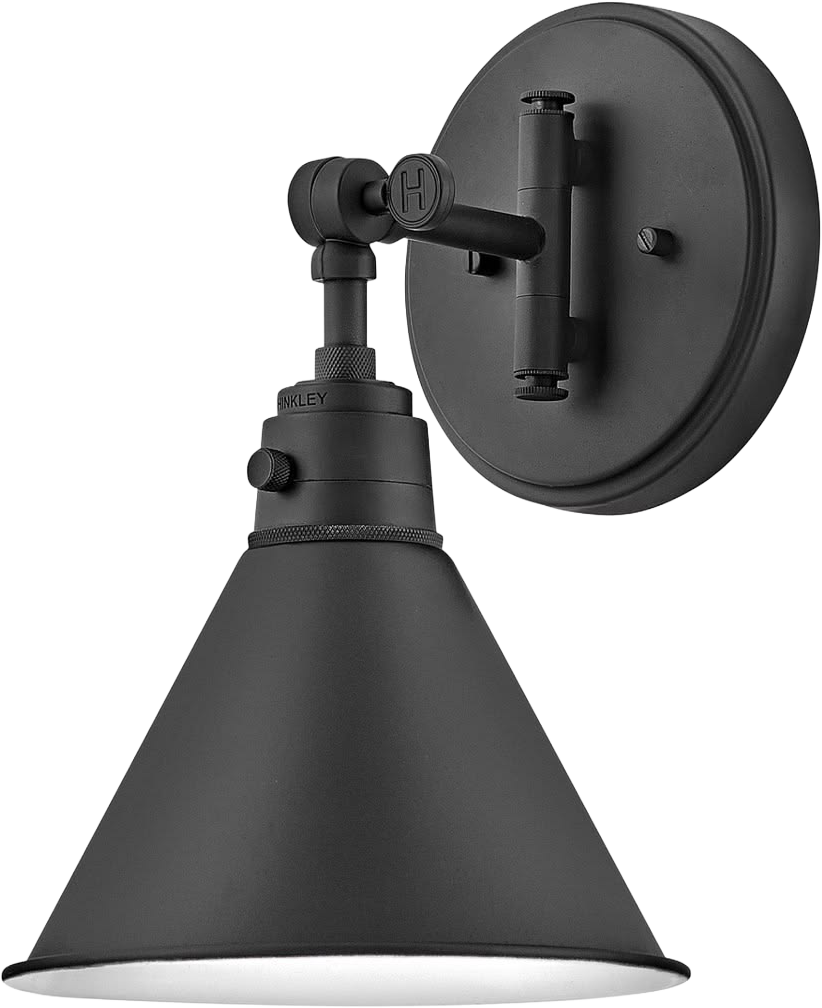
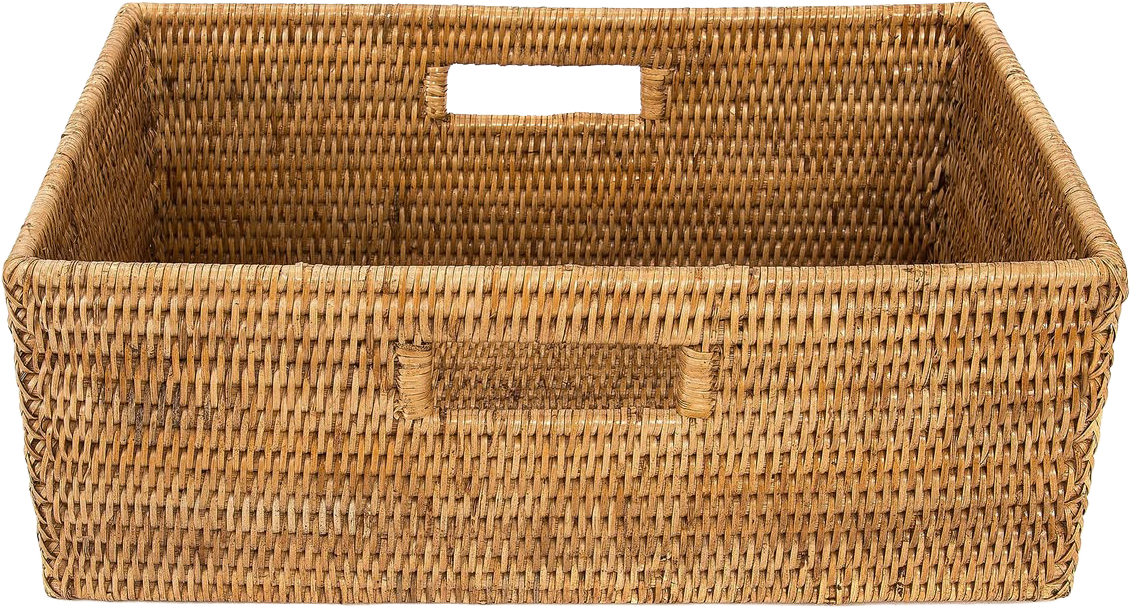
I’d finish the look with a black sconce mounted on the wall above the shelves. It gives the arrangement character and draws your eye upward. On the shelves, I’d mix books with art, a textured vase, and a small plant, then place a woven basket on the bottom shelf for concealed storage.
Before-and-after image: AI-generated mockup of the oak-effect BILLY styled with a white wall behind the shelves, fitted trim, and a sconce.
Shop the hack: BILLY bookcase with height extension · black sconce · woven basket
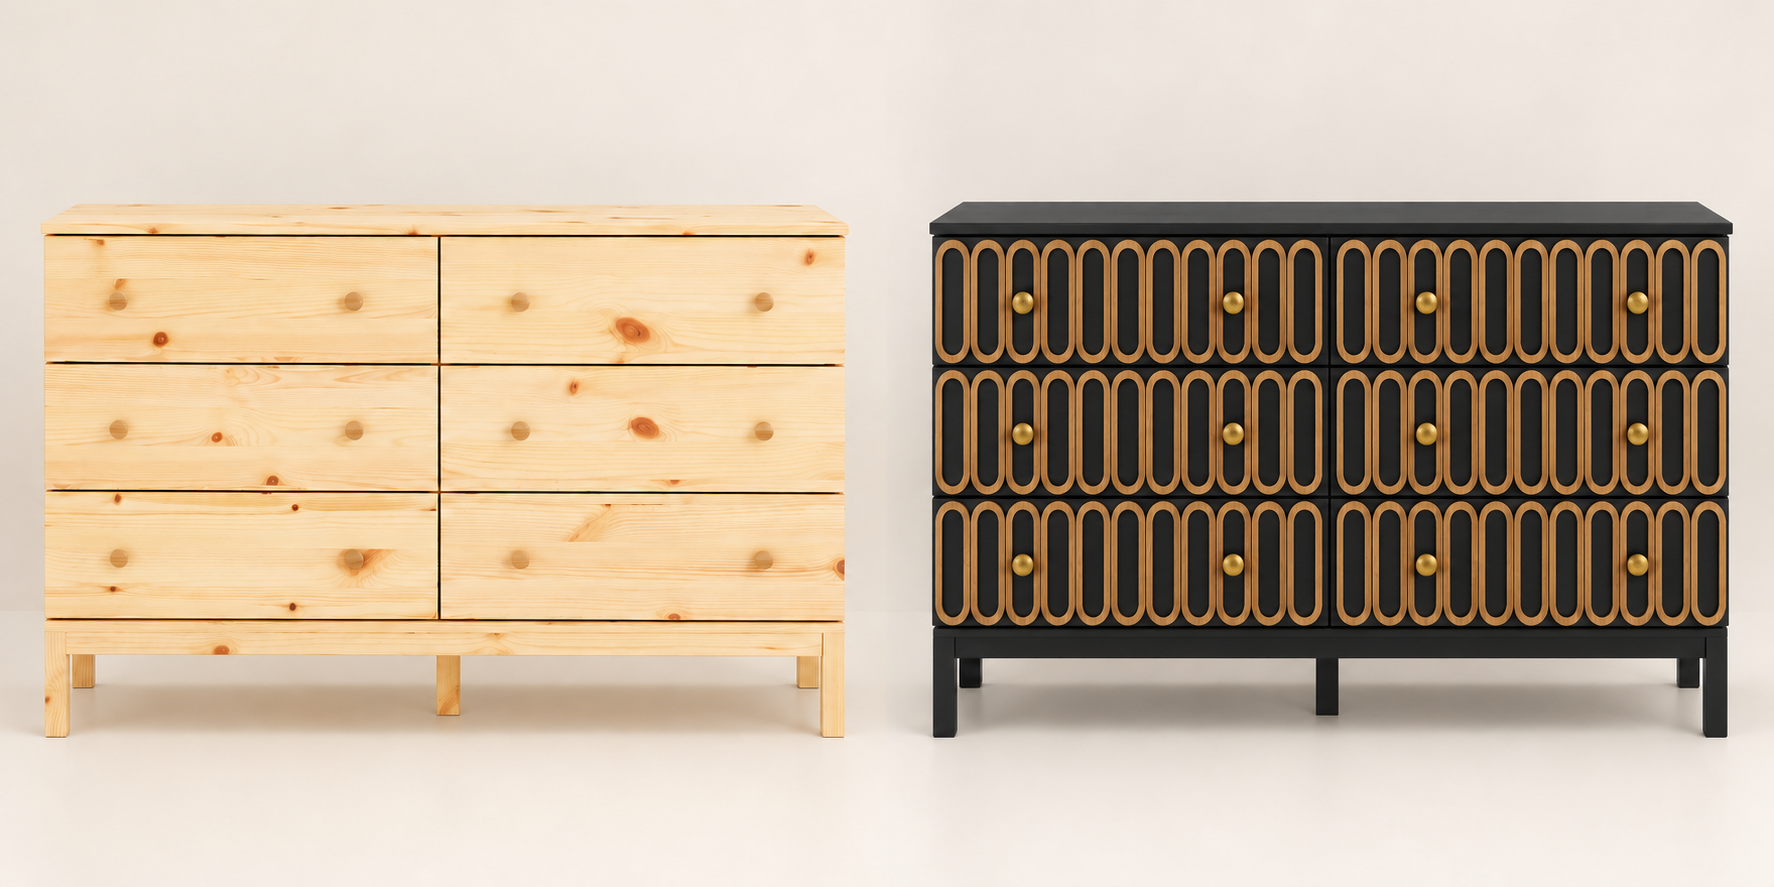
Before and after: an AI-generated mockup of the IKEA TARVA six-drawer dresser transformed with Benjamin Moore’s Black Satin, thin natural oak oval overlays, and textured brass knobs.
5. Turn the IKEA TARVA Dresser Into a Statement Piece
A stylish bedroom dresser can be pricey, but the unfinished pine IKEA TARVA gives you room to create something that feels like your own. For this idea, I chose Benjamin Moore’s Black Satin as the color. Against that dark finish, thin natural oak oval overlays bring warmth and texture to all six drawer fronts.
The pattern is what gives this dresser its distinctive look, so I’d plan it carefully before attaching anything. Lay out the overlays across the fronts, then step back and check how they line up when the drawers are closed. Keeping the ovals thin and evenly spaced gives the dresser detail without overwhelming it. Textured brass knobs complete the look.
You could paint the dresser another color to suit your bedroom. Whatever you choose, prepare the pine and follow the primer and paint instructions for furniture before adding the overlays and hardware. The black, oak, and brass combination is the version I’d choose for a bold bedroom statement.
Before-and-after image: AI-generated mockup of the TARVA dresser with black paint, thin oak oval overlays, and brass knobs.
Shop the hack: TARVA six-drawer dresser · natural oak oval overlays · textured brass knobs
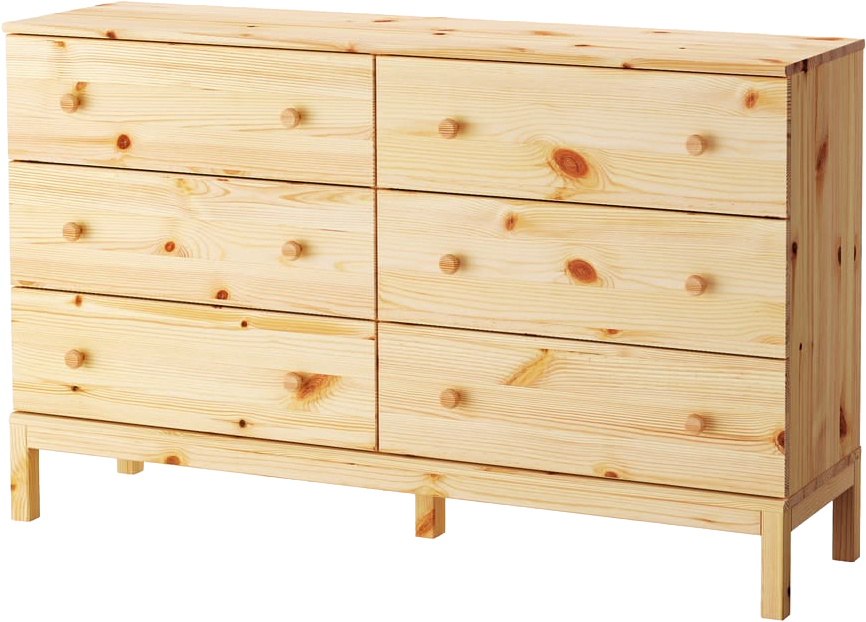
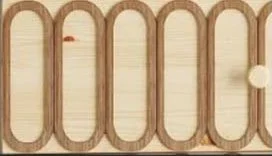
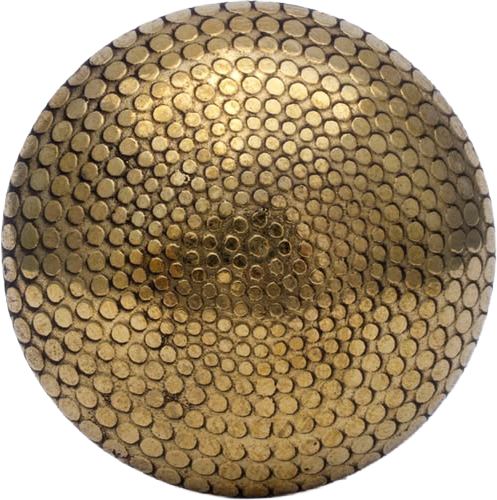
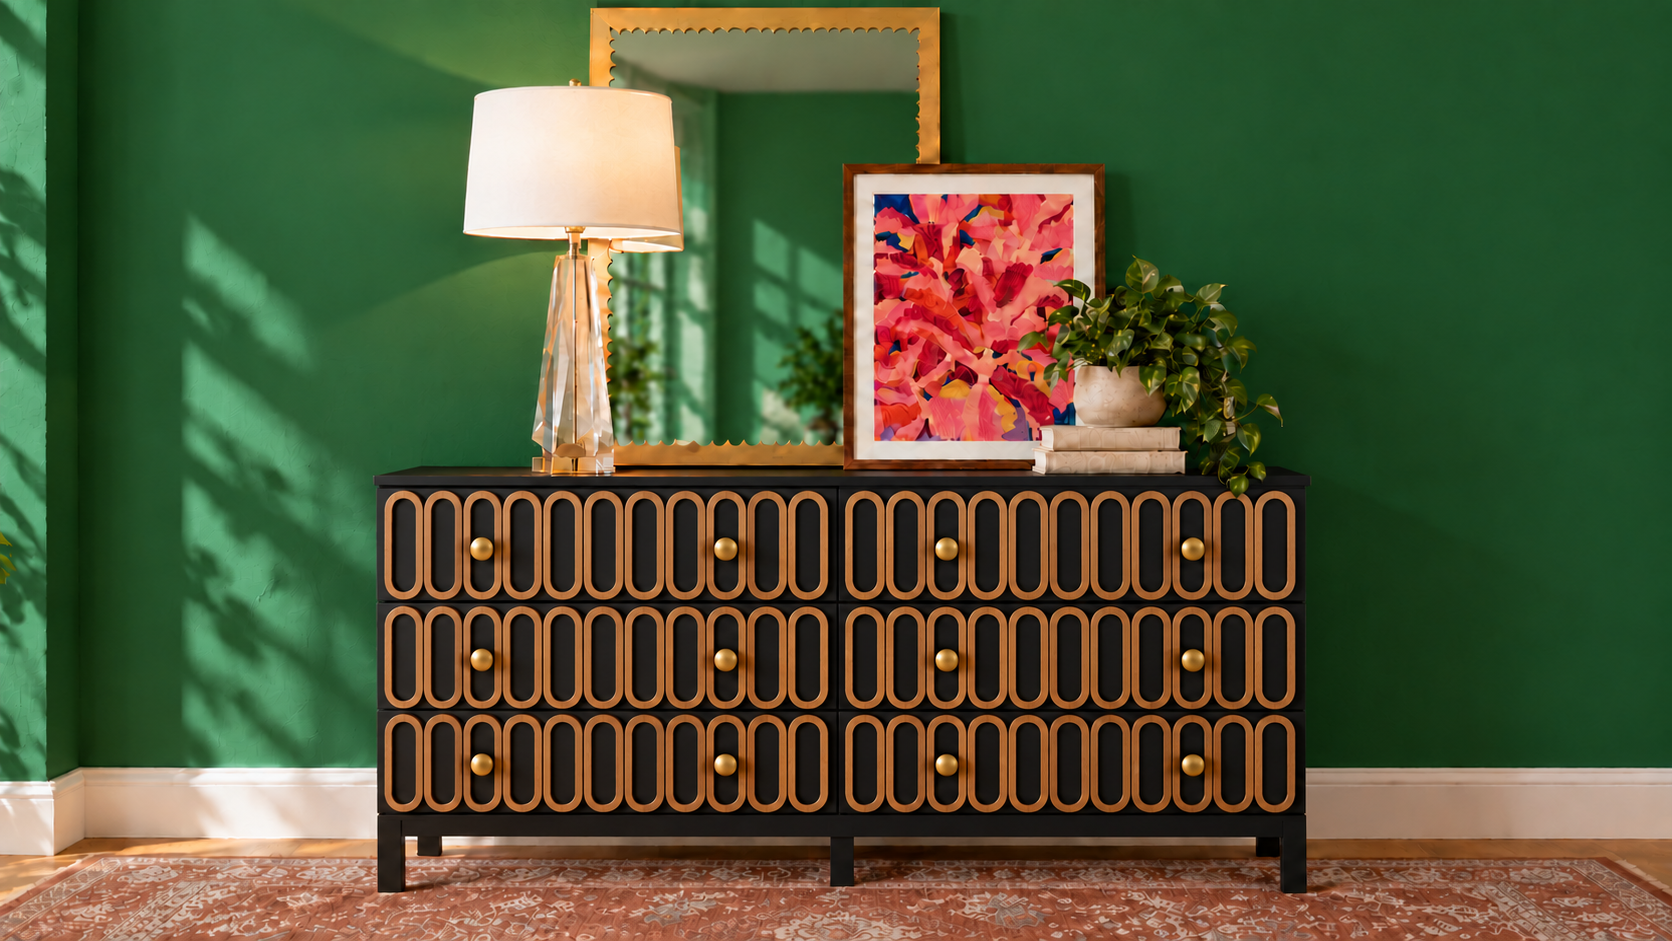
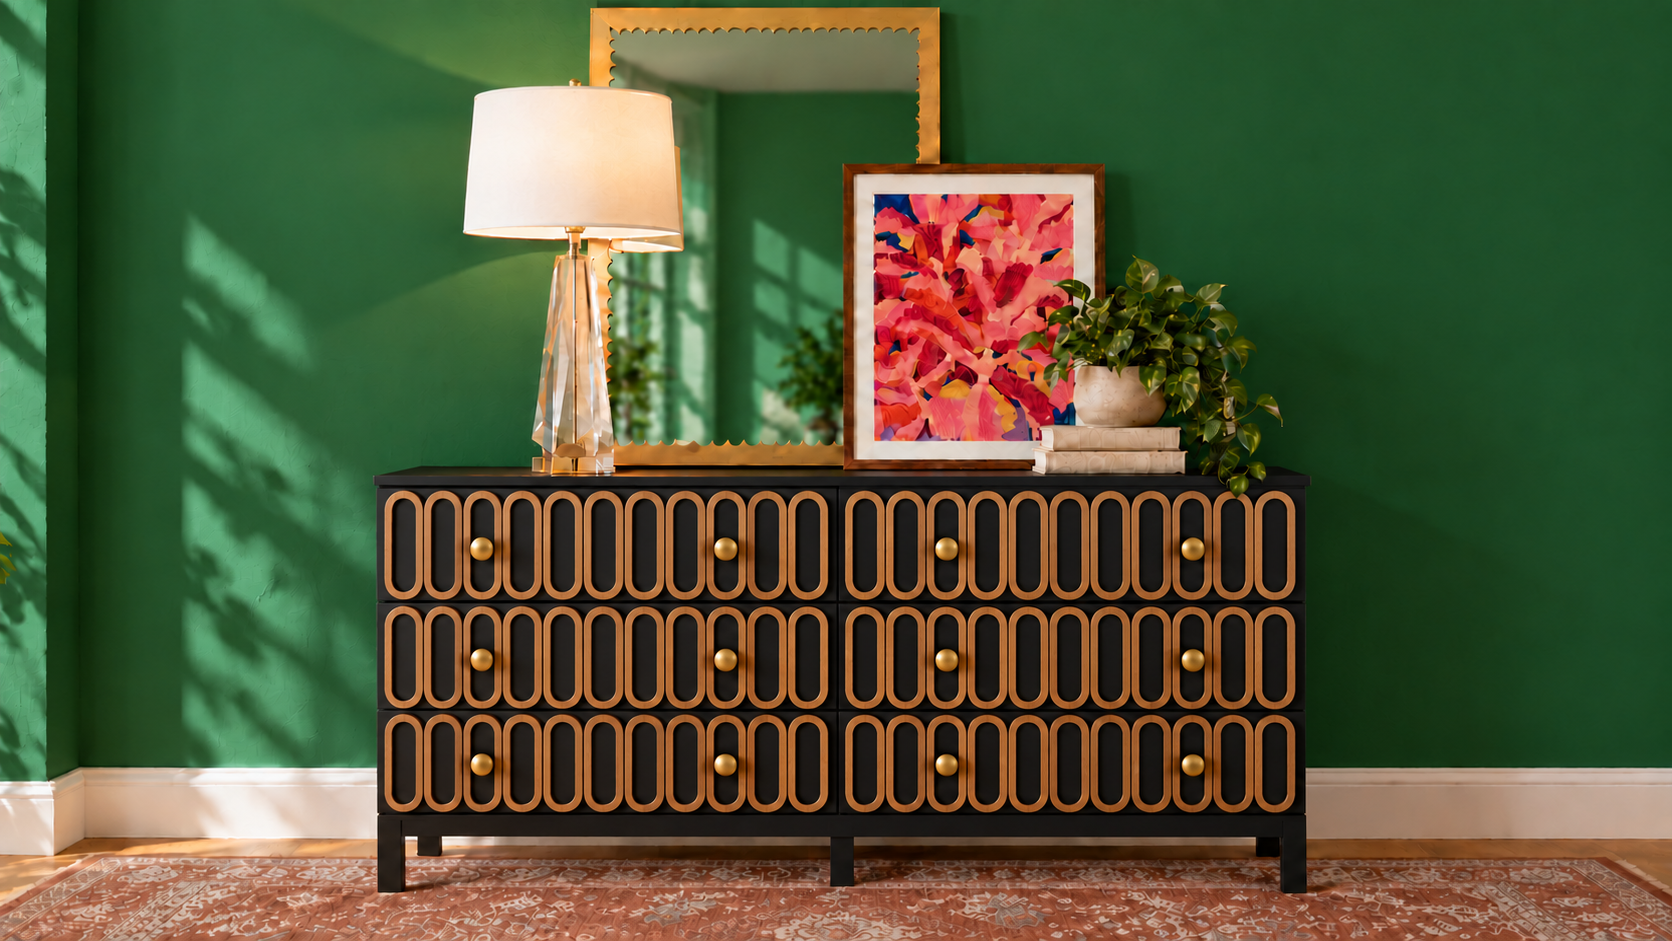
An AI-generated concept showing the IKEA TARVA dresser painted black with natural oak oval overlays and brass knobs, styled with a gold-framed mirror, colorful artwork, a lamp, books, a plant, and a vintage rug by virtual interior designer Joshua Jones of JJones Design Co.
Make Your Next IKEA Piece Your Own
You don’t have to start with an expensive piece of furniture to create something special for your home. Sometimes a new color, different hardware, or an unexpected material is enough to make you see a familiar piece differently. Our HEMNES console is proof of that: Jeffry gave it a new look nearly six years ago, and we still love it today.
I hope these five ideas give you a starting point for a project of your own. Browse the shopping lists, think about the colors and details you’d choose, and make the idea yours. I’d love to hear which IKEA piece you’re thinking of transforming.
Affiliate Disclosure — This post contains affiliate links. If you purchase a product through one of these links, I may earn a small commission at no additional cost to you.
I only recommend products that I would consider using in my own projects or that I believe may be a good fit for my readers. Affiliate commissions help support JJones Design Co. and allow me to continue creating free design guides, decorating tips, and educational content like this.